Agar in Mycology: Isolation, Purity, and a Strain Library You Control
Why a stack of petri dishes changes your results: a 2% agar home recipe, sterilising at 121 °C, streaking down to one colony, and a fridge library of strains.
Contents
- What agar is, and what it is not
- Why a clear surface changes the game
- The trick of a low pH
- A working LME agar recipe
- For scale: the MEA proportions
- Pouring without letting anything in
- Setting, drying, and storing lid-down
- Isolating a pure strain by streaking
- Mistakes that quietly ruin plates
- When to bin it
- From clean plate to fruiting
- A library in the fridge
Ask a working grower what changed their results the most and a lot of them will point to a stack of Petri dishes. A dish of set nutrient jelly does three things a jar of grain never will. It lets you pull one clean strain out of a messy sample. It shows you contamination while it is still a speck instead of a lost harvest. And it turns a single good culture into as many copies as you care to cut. None of that is mysterious. It comes down to a clear surface, a sterile pour, and the discipline to only ever move mycelium you can see is clean.
What agar is, and what it is not
Agar is a polysaccharide pulled from red seaweed, and mycelium cannot digest it. That surprises people, because they assume the jelly is the food. It is not. Agar only sets the medium into a firm, transparent gel. The actual nutrition comes from whatever you dissolve alongside it. In the classic home mix that means light malt extract, sometimes with a pinch of nutritional yeast or peptone for nitrogen. The malt brings the sugars (maltose and glucose), plus amino acids and trace minerals carried over from barley. The agar just holds all of it as a flat, readable sheet.
Why a clear surface changes the game
On grain or in a jar you are mostly guessing. On agar you are looking. Mould, bacteria and healthy mycelium each have their own look under decent light: mycelium runs as fine white threads, bacteria pool as wet slime, mould shows up fuzzy and coloured. That visibility is the reason to bother with plates at all. When a spore print or a scrap of tissue carries something it should not, you do not try to salvage the whole dish. You cut only the clean leading edge of mycelium, move it to a fresh plate, and repeat until nothing off-colour follows it across.
The trick of a low pH
There is a quieter reason malt extract agar works so well for fungi. It sits at a fairly low pH, and that mild acidity holds bacteria back while your mushroom grows on undisturbed. It is the same logic behind Sabouraud agar, a standard mycology medium that runs at about pH 5.6 with a heavy load of glucose to tilt the balance toward fungi. You are not just feeding the culture you want. You are quietly making the surface a little unfriendly to the things you do not.
A working LME agar recipe
For roughly 500 ml: 10 g light malt extract, 10 g agar-agar, and if you like, 1 g nutritional yeast, all stirred into 500 ml water. The number to hold onto is about 2% agar by weight. Go lower and the gel stays soft and tears when you cut it. Go higher and it dries out and shrinks from the dish. Once it is mixed, sterilise the jar in a pressure cooker at 15 psi, around 121 °C, for 30 to 40 minutes. A boiling-water bath will do in a pinch, but treat it as the weaker option. It does not reach the temperature that kills heat-resistant bacterial spores, so some always slip through.
For scale: the MEA proportions
If you are mixing by the litre rather than the jar, the general-purpose lab version is worth knowing. Malt extract agar is usually written as roughly 30 g light malt extract and 20 g agar per 1000 ml water. Some recipes add about 5 g peptone or around 20 g dextrose per litre for a richer surface. The method is the same at any volume: heat to boiling so the agar fully dissolves, then autoclave or pressure-cook, then cool to a safe pouring temperature. The ratios shift with scale. The sequence does not.
Pouring without letting anything in
Let the sterilised medium cool until the jar is hand-warm, roughly 50 to 55 °C. Two things happen at that point: the medium is still liquid enough to pour cleanly, and much less condensation forms on the lids. Pour in front of a still-air box or in a clean, draught-free spot. Lift each Petri lid only a crack, fill the dish about a third, and set it down. That is the whole move, repeated dish after dish while the medium stays pourable.
Setting, drying, and storing lid-down
Leave the fresh plates to set with lids slightly ajar so steam escapes rather than beading on the surface. Many people go a step further and dry poured plates gently under clean conditions, somewhere around 30 to 40 °C, to pull off the last surface moisture. A wet surface lets colonies run into each other instead of staying separate. Once set and dry, store the plates inverted, lid-down. Any condensation then drips onto the lid, not onto the mycelium.
Isolating a pure strain by streaking
Getting to a single clean strain is done by streaking, which is just controlled dilution. You drag cells across the agar so they end up spaced far enough apart that each grows into its own discrete colony, and every colony is a clone of one cell. Beginners usually start with the T-streak: three sections, with the loop resterilised between them. The quadrant pattern extends the same idea across four sections for heavier dilution. This is not a new trick, either. The streak-plate method came out of Robert Koch's lab in the 1880s and replaced the older pour-plate approach as the standard way to isolate a strain.
Mistakes that quietly ruin plates
The failures are predictable, which means they are avoidable. Pour while the medium is too hot and you bake condensation onto the lid, fogging the surface you need to read. Work in moving air and you pull airborne spores straight down onto the agar. Skip proper pressure sterilisation and bacteria bloom later as slimy, wet patches. One habit prevents a lot of grief: flame-sterilise the scalpel before every single cut, then let it cool for a moment so the hot blade does not kill the very mycelium you are trying to move.
When to bin it
Some plates are not worth arguing with. Fuzzy green, black or cobweb-grey growth means contamination has a foothold, and chasing it around the dish usually loses. Throwing the plate out and starting clean is faster and cheaper than nursing a compromised one. This is where cheap plates pay off. When a fresh pour costs almost nothing, walking away from a bad dish is an easy call rather than a painful one.
From clean plate to fruiting
A plate that has fully colonised with even white mycelium, no off-colours, no odd smell, becomes your master culture. From there the work is simple: cut a small wedge and expand it onto grain spawn to build volume for a grow. You never have to touch the master itself, The plate stays a reference you can return to.
A library in the fridge
Store a few clean plates in the fridge at 2 to 4 °C and you have a backup library that holds for months. Cold slows the mycelium almost to a stop without killing it, so a strain you spent effort cleaning up stays available long after the original sample is gone. That is the quiet advantage of agar, and it is worth stating plainly. It lets you keep a strain you trust instead of hoping the next spore print behaves. From a single seaweed-set disc of jelly to a shelf of verified cultures, that is what the whole practice buys you.
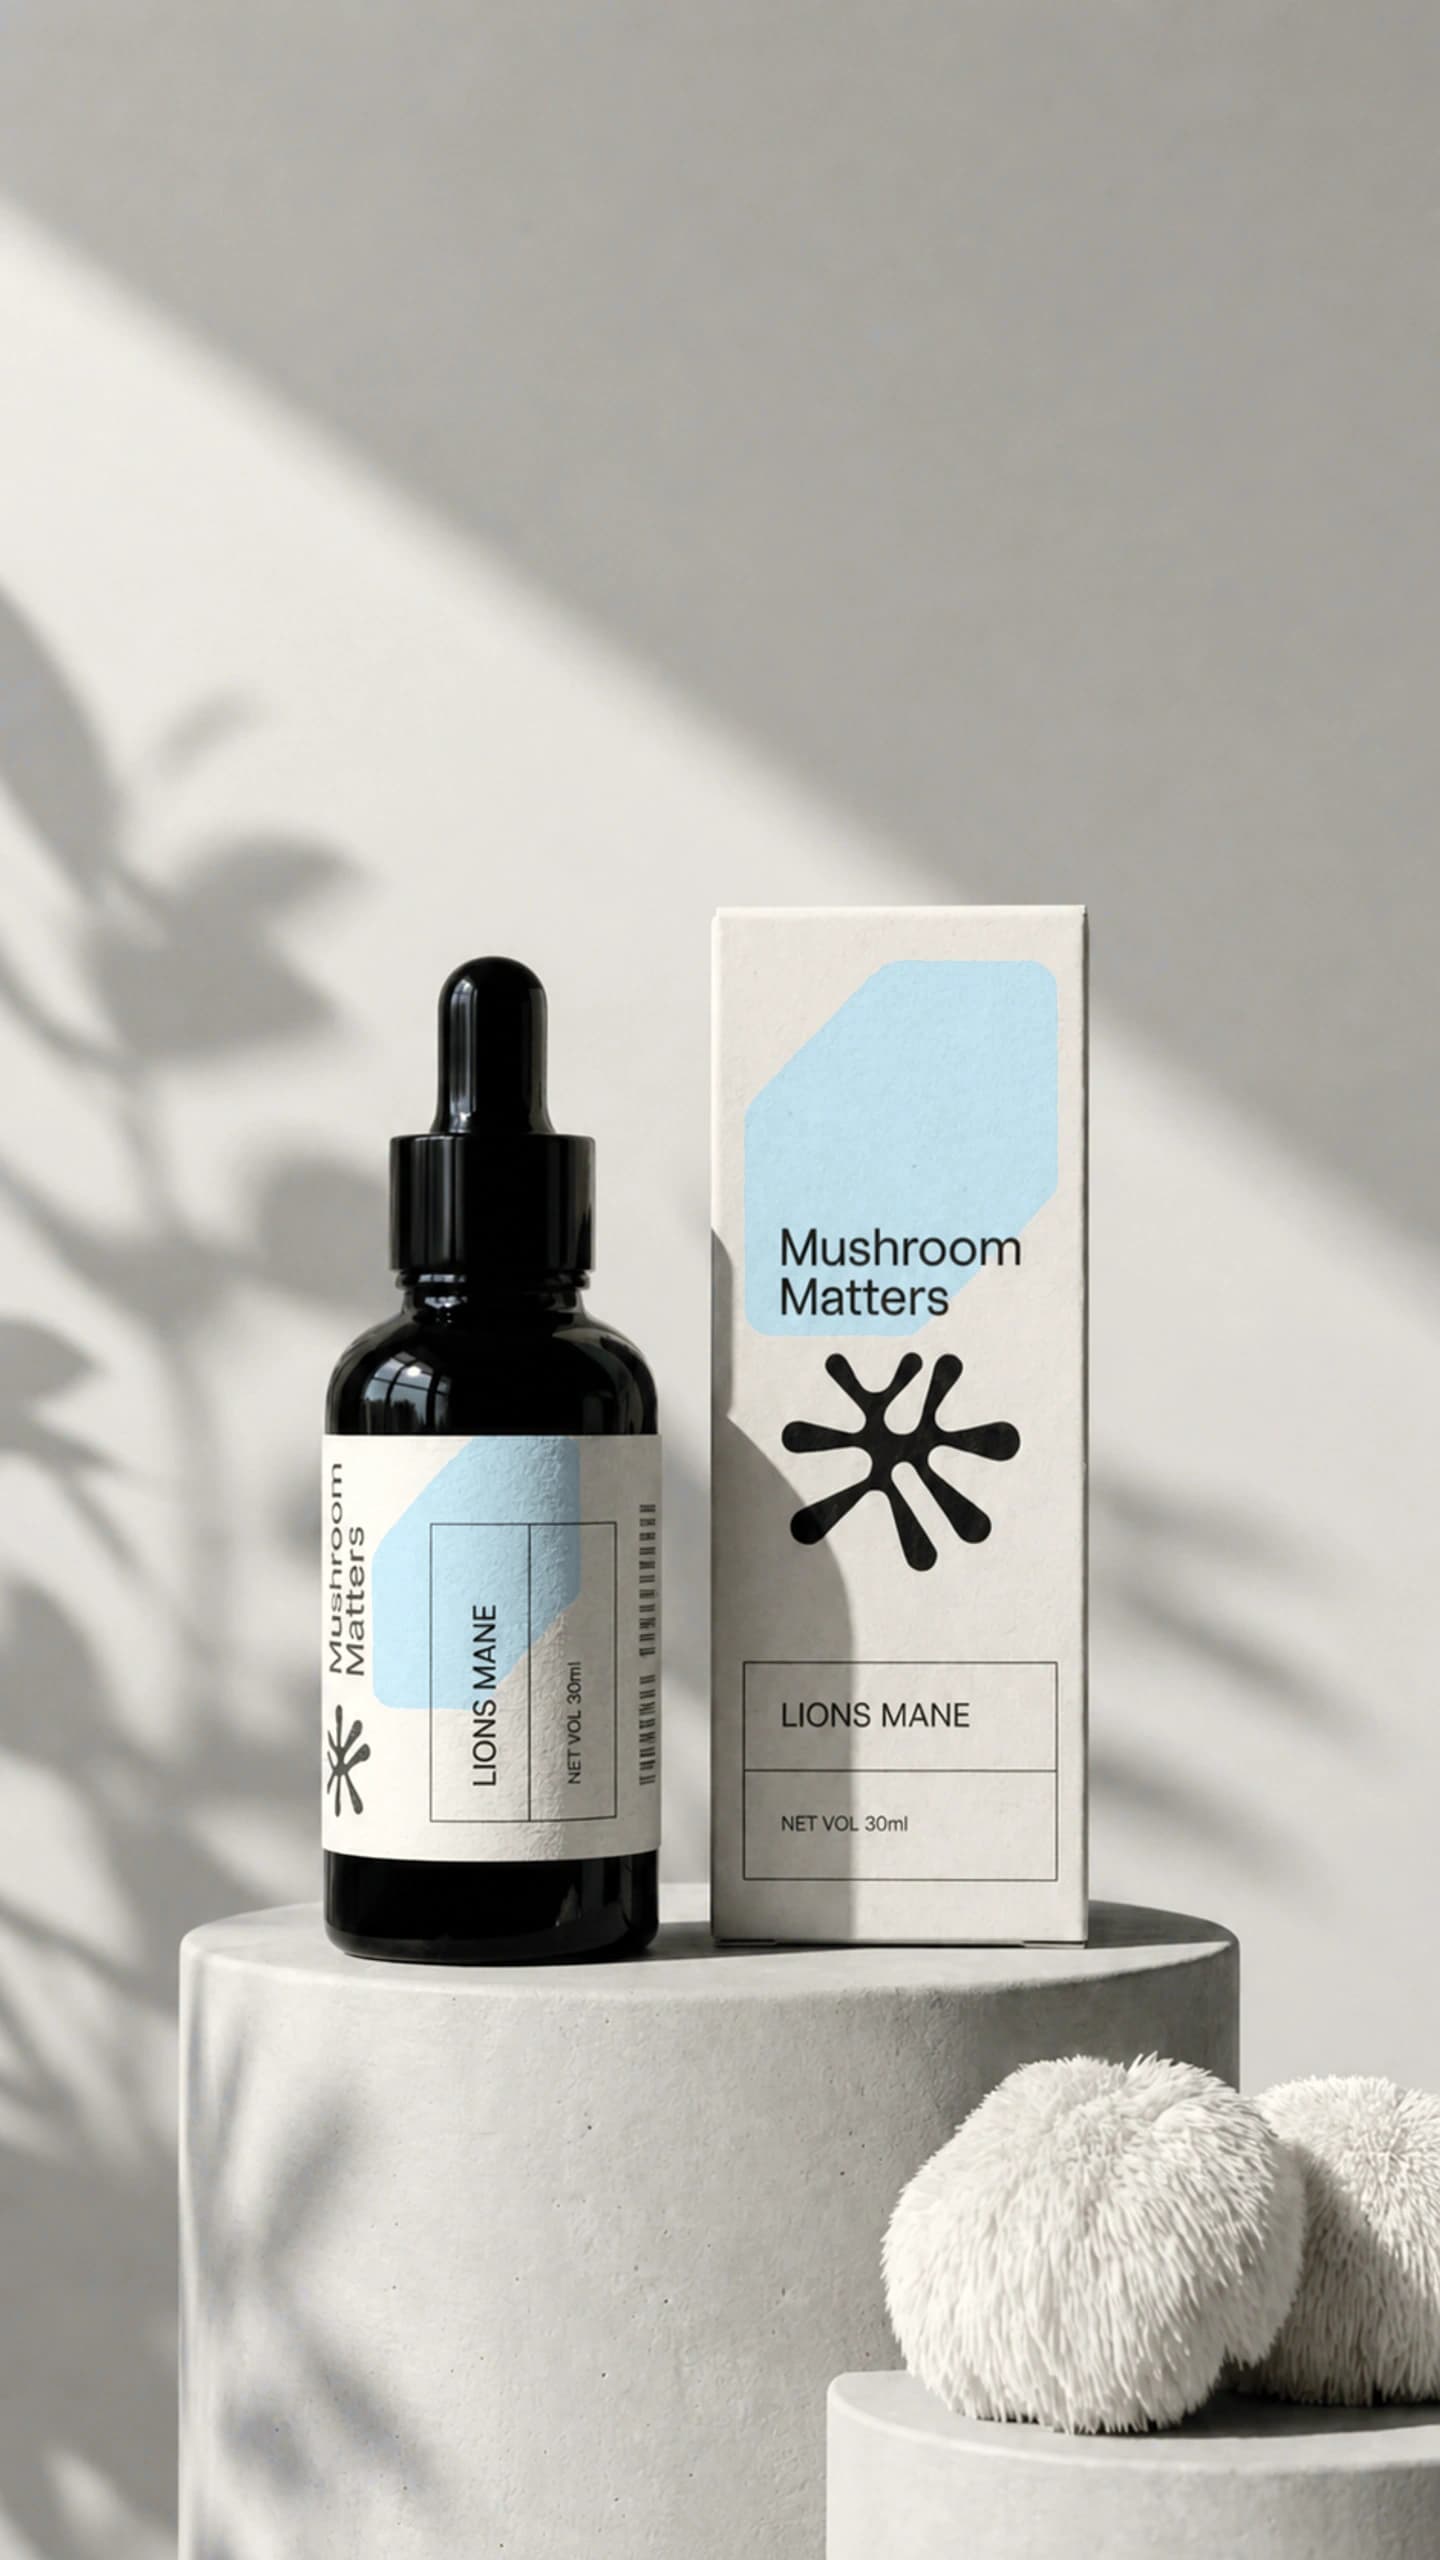
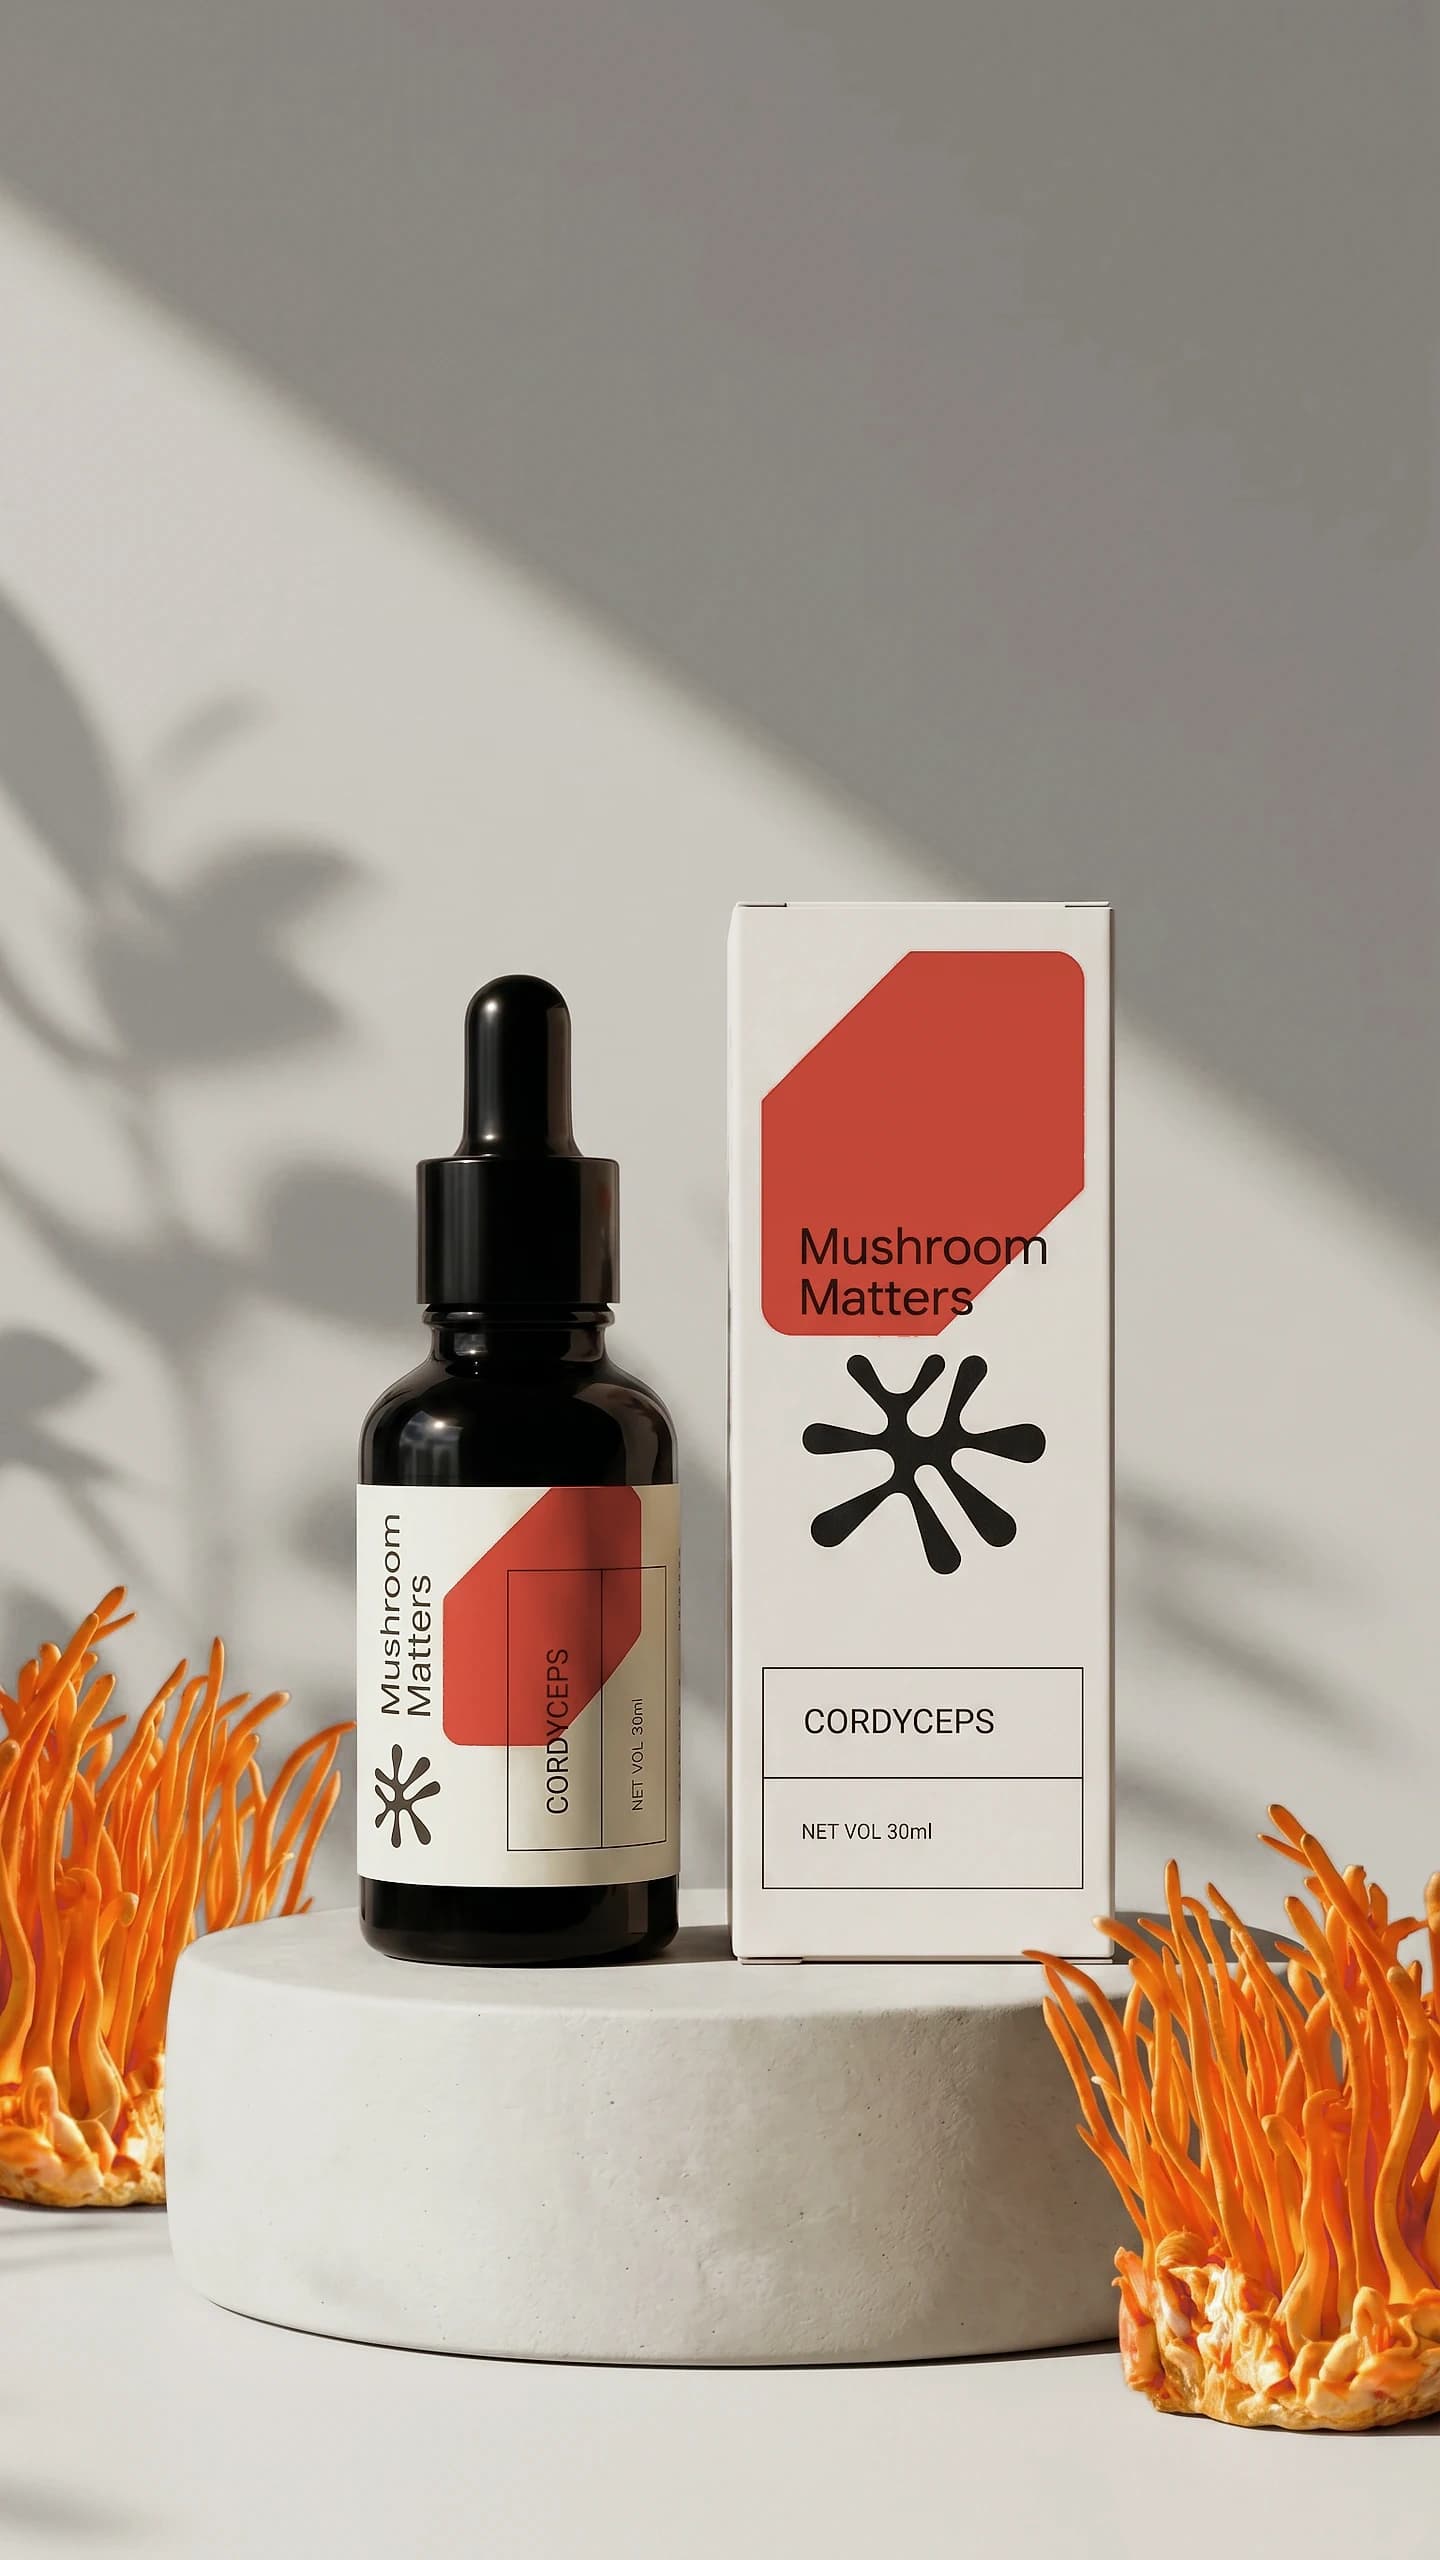
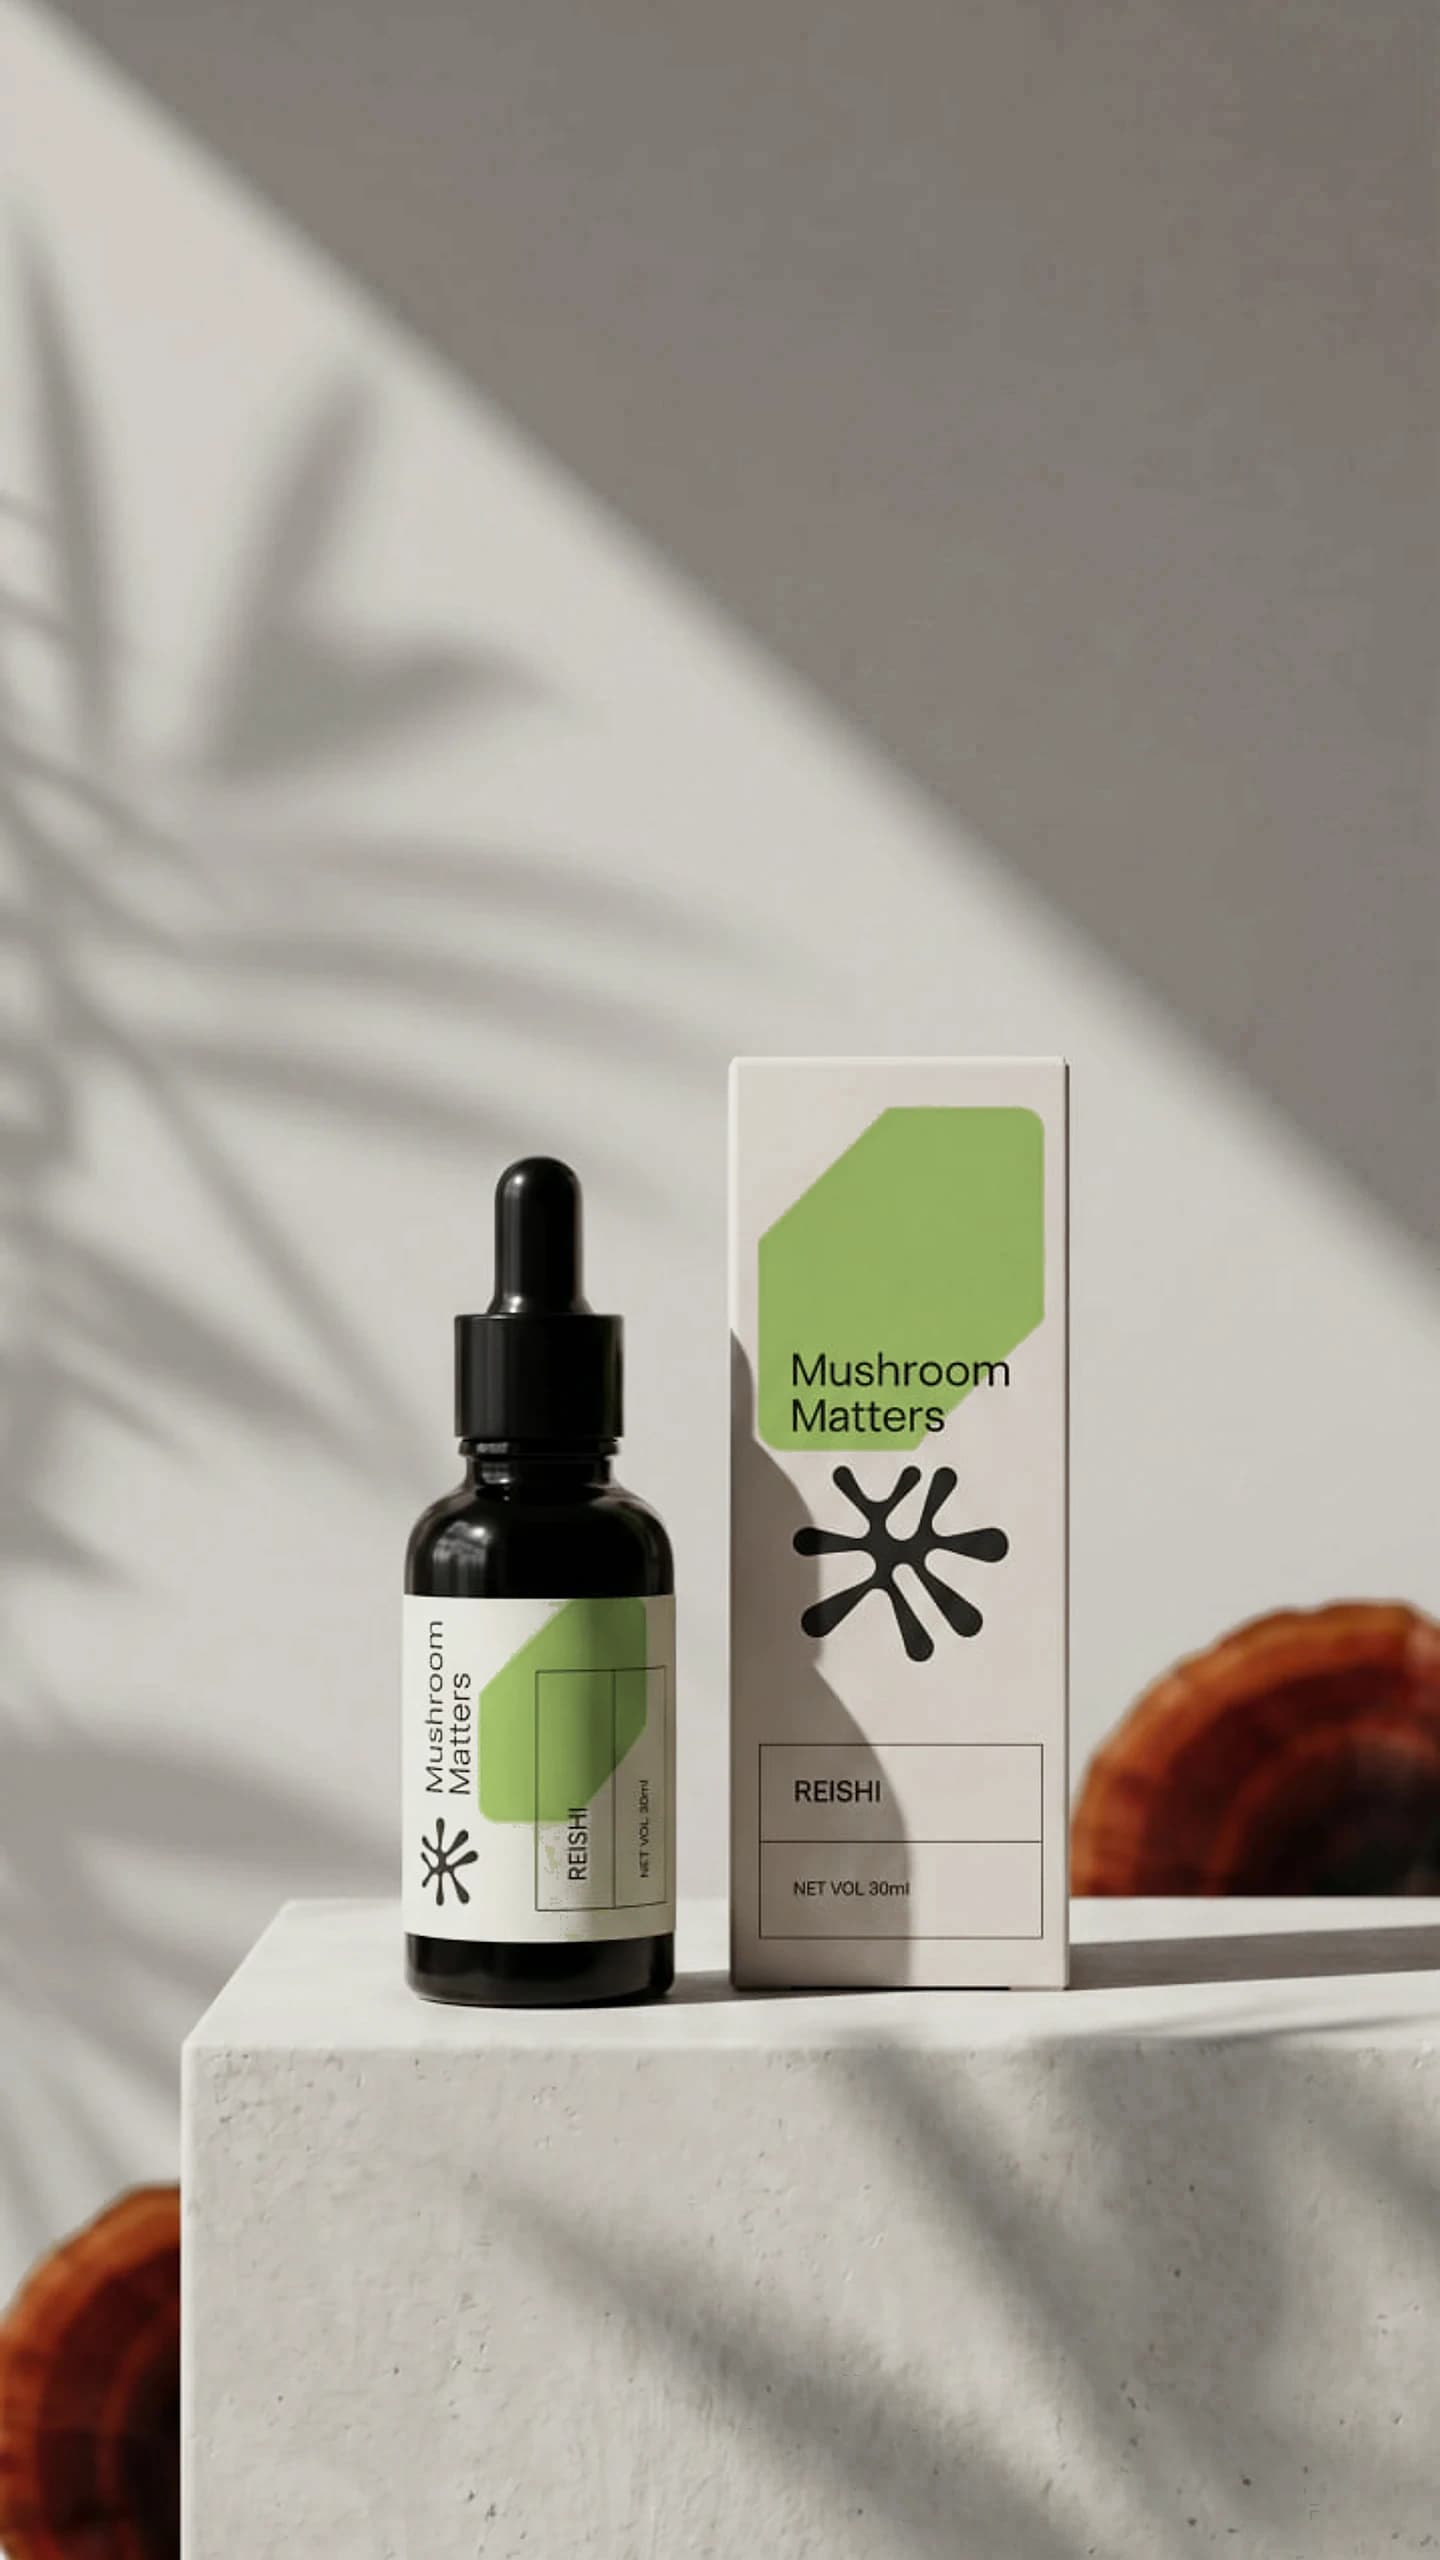
Agar is the point where home cultivation stops being a roll of the dice and becomes something you actually run. Once you can see, isolate and store a strain on demand, the guesswork drops out. We are Mushroom Matters, a mycology outfit in Yerevan, and we keep this kind of knowledge plain and usable on purpose. When you would rather have the finished compounds than the culture work, our Lion's Mane, Reishi and Cordyceps extracts are there for that.
Read next
Sources
From the shop
Comments
Leave a comment or ask a question.